The 1805 Club uses cookies to ensure you have the best possible online experience. By continuing to use this site you consent to the use of cookies in accordance with our cookie policy.
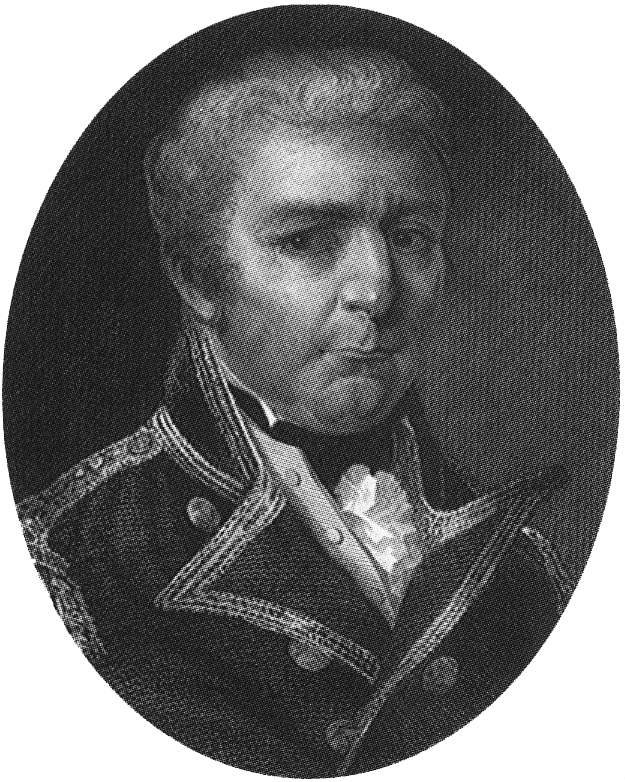
Rotheram first went to sea in a collier – a far cry from the proud career that he subsequently carved out for himself. At Trafalgar, commanding Vice Admiral Collingwood’s flagship, the three-decker Royal Sovereign, he had the responsibility of spear-heading the lee column of fifteen ships into the enemy line. Like Collingwood, Rotheram came from Northumberland. Even so, the relationship between admiral and captain was initially strained but softened by Nelson’s intervention, who invited the two men to dine together with him.
Rotheram was born in 1753 in Hexham and enlisted in 1777. Between 1778 and 1782, he was midshipman, a master’s mate and, in hmsMonarch, an acting lieutenant serving under Lord Howe. He also served under Howe at the Glorious First of June (1794) as a senior lieutenant on the Culloden. This was a stepping stone to promotion to commander that year and to captain in 1800.
At the Battle of Trafalgar, Rotheram was attired for the occasion in an oversized cocked hat, which he claimed he always wore when fighting, and full dress uniform, apparel which no one could make him change.
His ship had been a laggardly sailer, dubbed ‘the West Country Waggon’, but when she rejoined the fleet a fortnight before Trafalgar she had become one of the most speedy, being newly copper-bottomed. Rapidly in range, Rotheram broke through the Franco-Spanish line astern of the towering Santa Ana to engage her with a potent show of gunnery, long before support could come to bear. So powerful was this overture that Collingwood called out to his captain, ‘Rotheram, what would Nelson give to be here!’ unaware that his Lordship, witnessing the scene from across the water, was saying at almost the same moment, ‘See how that noble fellow Collingwood carries his ship into action!’
When Rotheram turned to pull alongside his adversary, his ship had by then attracted the wrath of four other opponents. Help eventually arrived, led by the Belleisle, and so the Royal Sovereign was able to achieve the submission she wanted after the longest single fight in the whole battle, but at great cost to the crew and ship. In due course, the Euryalus took the Royal Sovereign in tow and Collingwood transferred his flag to her. Immobilised as his ship was, Rotheram maintained action as the enemy bore down on her and continued to the end of the conflict.
Rotheram then took command of the Bellerophon and escorted the Victory, with Nelson’s body on board, back to England. At the funeral that followed, he carried the guidon. His actions at Trafalgar were rewarded with the naval gold medal and a sword of honour from the Lloyd’s Patriotic Fund before he resumed active service in the Bellerophon in the Channel and the Baltic from 1805 to 1809.
In June 1815, Rotheram was appointed a Companion of the Bath and was one of the captains of Greenwich Hospital from 1828 for two years. He died on 6 November 1830 in Bildeston, Suffolk.
JRG
Memorials
Type: Grave Material: Marble Location: St Mary Magdalene Church, Bildeston, Suffolk Click here to read more…
Type: Wall Plaque Material: White marble Location: St Mary Magdalene Church, Bildeston, Suffolk Click here to read more…